Pipe connector installation
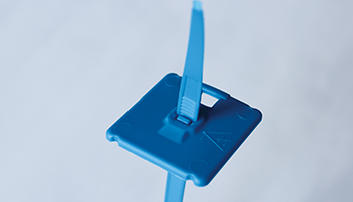
Accessories
1. Make a borehole
Use a diamond drill bit, drill a hole perpendicular and centric on the long axis of the pipe. Remove drill core, deburr borehole, clean and inspect visually. Borehole diameter: DN 150: 200 ±1 mm DN 200: 257 ±1 mm.
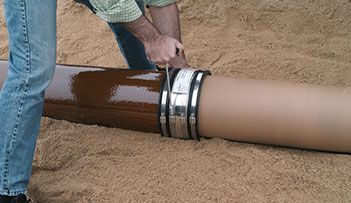
2. Apply Keramat lubricant
Apply the KeraMat lubricant evenly to the borehole surface as well as to the elastomer shaft joint.
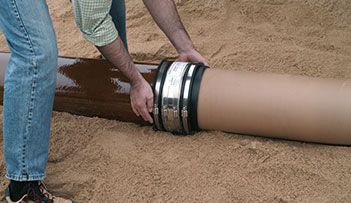
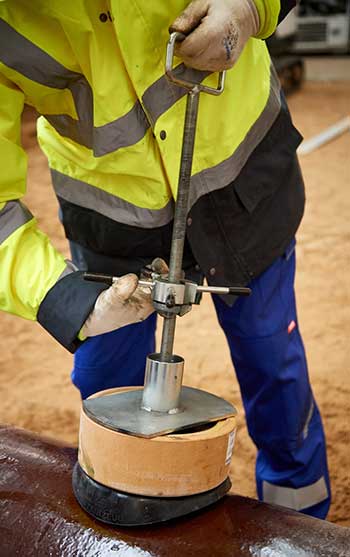
3. Install
Align the connecting socket C axial (according to arrow on joint) in the direction of flow, place it on the borehole, insert the lower side first, then push the upper half. The further installation is carried out with the KeraMat installation aid from C70 and higher. While doing so, the joint needs to be considered in case of a consistent turn down. Apply installation aid in the connecting socket C, lock the lower cross brace in the direction of flow, slide the connecting socket completely into the borehole by tightening the hubs. Dismantle quick adjustment, flip the crossbeam, and extract the installation aid from the connecting socket.
 Slide the vitrified connecting socket C completely into the borehole by tightening the quick adjustment . The joint needs to be considered in case of a consistent turn down. Dismantle quick adjustment, flip the crossbeam and extract the installation aid from the connecting socket.
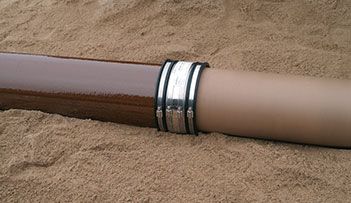
4. Installation control
Examine the inner and outer position of the connecting socket C: connect the jointing collar uniformly on the main pipe. The connecting socket C may not intrude into the main pipe and must be installed uniformly with fitted joint.
1. Make a borehole
Use a diamond drill bit, drill a hole perpendicular and centric on the long axis of the pipe. Remove drill core, deburr borehole, clean and inspect visually. Borehole diameter DN 125: 152 ±1 mm Borehole diameter DN 150: 172 ±1 mm Borehole diameter DN 200: 232 ±1 mm
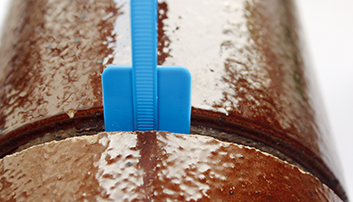
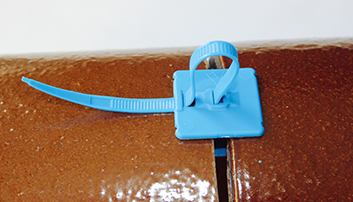
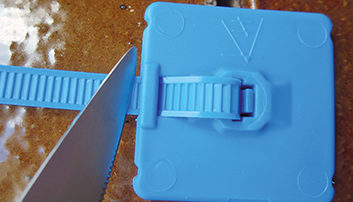
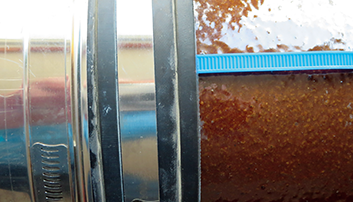
2. Install
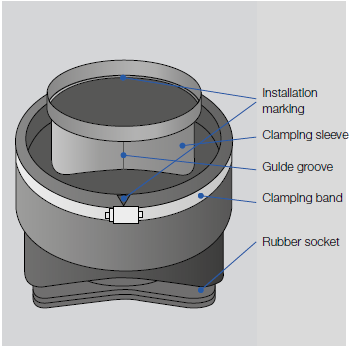
Pull out the clamping sleeve and insert the connecting socket according to the radii process (direction of the arrow) Put clamping sleeve in the guide groove (arrow) Insert clamping sleeve by means of sleeping aid (KeraMat original accessories) Tighten vitrified clay spigots firmly with clamping band